Got a draft? Feel that cold air sneaking in around your windows, even when they're closed tight? Chances are, your caulk and seals are shot. It's a common problem here in Great Bend, especially with our wild temperature swings – hot, dry summers and then those freezing, windy winters. That constant expansion and contraction really does a number on sealants over time. But here's the good news: a lot of the basic sealing work, the stuff that makes the biggest difference in your energy bill, you can absolutely handle yourself.
Before You Start: The Prep Work
You can't just slap new caulk over old, cracked stuff and expect it to last. That's like putting a fresh coat of paint on a rusty car; it'll look good for a minute, but the problem's still there underneath. So, before you even think about buying a caulk gun, you've got to get things ready.
- Clean It Up: First, clean the area around the window frame thoroughly. I'm talking about getting rid of all the dirt, dust, spiderwebs, and any other crud that's built up. A stiff brush and some soapy water usually do the trick. Let it dry completely.
- Old Caulk Out: This is the most important part. You need to remove all the old, failing caulk. A utility knife, a 5-in-1 tool, or a dedicated caulk removal tool will work. Be careful not to damage the window frame or siding. Scrape it all out until you've got a clean, dry surface. If there's any loose paint or debris, get rid of that too.
- Check for Damage: While you're cleaning, take a good look at the window frame itself. See any rot? Soft spots in the wood? Peeling paint that goes deeper than just the surface? If you find significant damage, especially rot, you're probably looking at a bigger job than just caulking. That's when you might want to give someone like us at Majestic Window Installation Co. a call. We can assess if it's repairable or if it's time to think about a replacement.
Choosing Your Weapon: The Right Caulk
Don't just grab the cheapest tube at the hardware store. Different types of caulk are for different jobs. For exterior window sealing, you want something that's flexible, durable, and can handle our Kansas weather.
- Acrylic Latex Caulk: This is good for interior gaps, but for outside, it's not usually my first choice. It can shrink and crack over time, especially with our extreme temperatures.
- Silicone Caulk: Super durable, flexible, and waterproof. It lasts a long time. The downside? It's tough to paint over, and once it's there, it's really hard to remove if you mess up.
- Polyurethane Caulk: This is a pro favorite for exterior work. It's incredibly durable, flexible, and can be painted. It's a bit messier to work with and takes longer to cure, but it's built to last.
- Elastomeric Caulk: Another good option for exterior use. It's very flexible and can bridge wider gaps than standard caulk. It's also paintable.
For most homeowners doing a DIY job on the exterior, I'd lean towards an elastomeric or a good quality exterior-grade siliconized acrylic latex caulk. They're easier to work with than pure silicone or polyurethane but still offer good performance.
Time to Seal: The Application
Alright, you've prepped, you've picked your caulk. Now for the fun part.
- Cut the Tip: Cut the nozzle at a 45-degree angle, making an opening just big enough to fill the gap you're working on. Too big, and you'll make a mess; too small, and you'll struggle to get enough caulk out.
- Steady Hand: Load the tube into your caulk gun. Hold the gun at that 45-degree angle, pushing the caulk into the joint. Pull the trigger steadily and move the gun smoothly along the gap. Don't stop and start too much, or you'll get lumpy lines.
- Smooth It Out: Immediately after applying a section (a few feet at a time), smooth the bead with a wet finger, a caulk tool, or even an old spoon. This pushes the caulk into the joint for a better seal and gives it a clean, professional look. Don't overwork it.
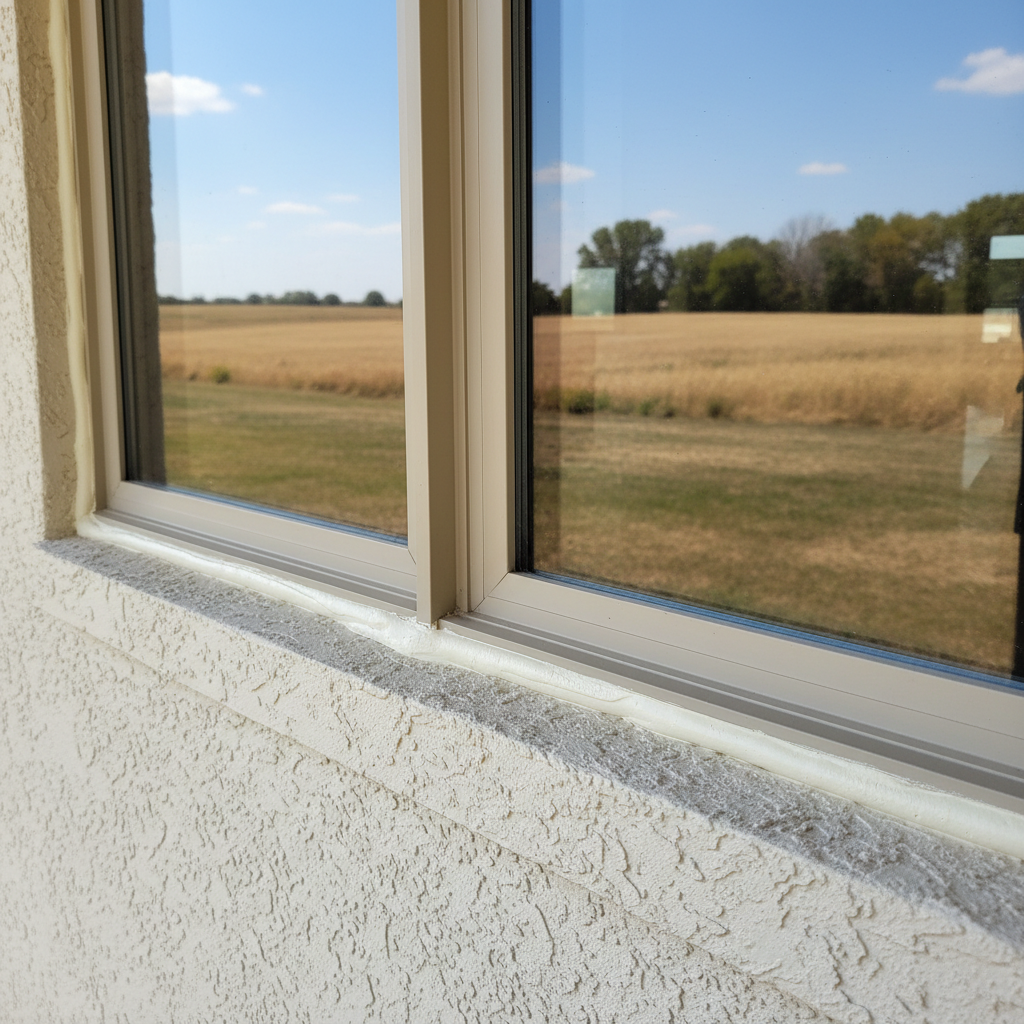
- Inside and Out: Remember to check both the exterior and interior of your windows. You'll want to seal any gaps where the window frame meets the siding outside, and where the frame meets the wall inside.
Focus on the perimeter of the window frame where it meets the house structure. Don't caulk the weep holes (small holes at the bottom of the exterior frame) on vinyl or aluminum windows; those are there to let water drain out.
When to Call a Pro
While basic caulking is definitely a DIY job, there are times when you should step back and call in the experts. If you're seeing:
- Extensive Rot or Damage: If the wood around your window is soft, crumbling, or has large holes, caulk isn't going to fix that. You need a carpenter or a window professional to address the structural integrity.
- Foggy Panes: If the glass between your double or triple-pane windows is foggy or has condensation inside, that means the seal on the insulated glass unit itself has failed. No amount of exterior caulk will fix that. You're looking at either replacing the glass unit or the entire window.
- Persistent Drafts After Caulking: If you've done a good job caulking and you're still feeling drafts, it might be an issue with the window sash not sealing properly against the frame, or the window itself is old and inefficient. This is where a professional assessment from us at Majestic Window Installation Co. can help you figure out the next steps.
- Lead Paint Concerns: If your home was built before 1978, there's a chance of lead paint. Disturbing old caulk or paint can release lead dust, which is a serious health hazard. If you suspect lead paint, it's best to consult with a lead-safe certified professional.
For simple gaps and cracks, grab your caulk gun. You'll be amazed at how much warmer your home feels and how much less you're spending on heating and cooling. It's a small project that makes a big difference in keeping those Great Bend utility bills down.